How to Edge a Flower Bed: Clean Lines Made Easy
Nothing makes a garden look more polished than clean, crisp edges. Learn professional techniques for creating and maintaining perfect flower bed borders.
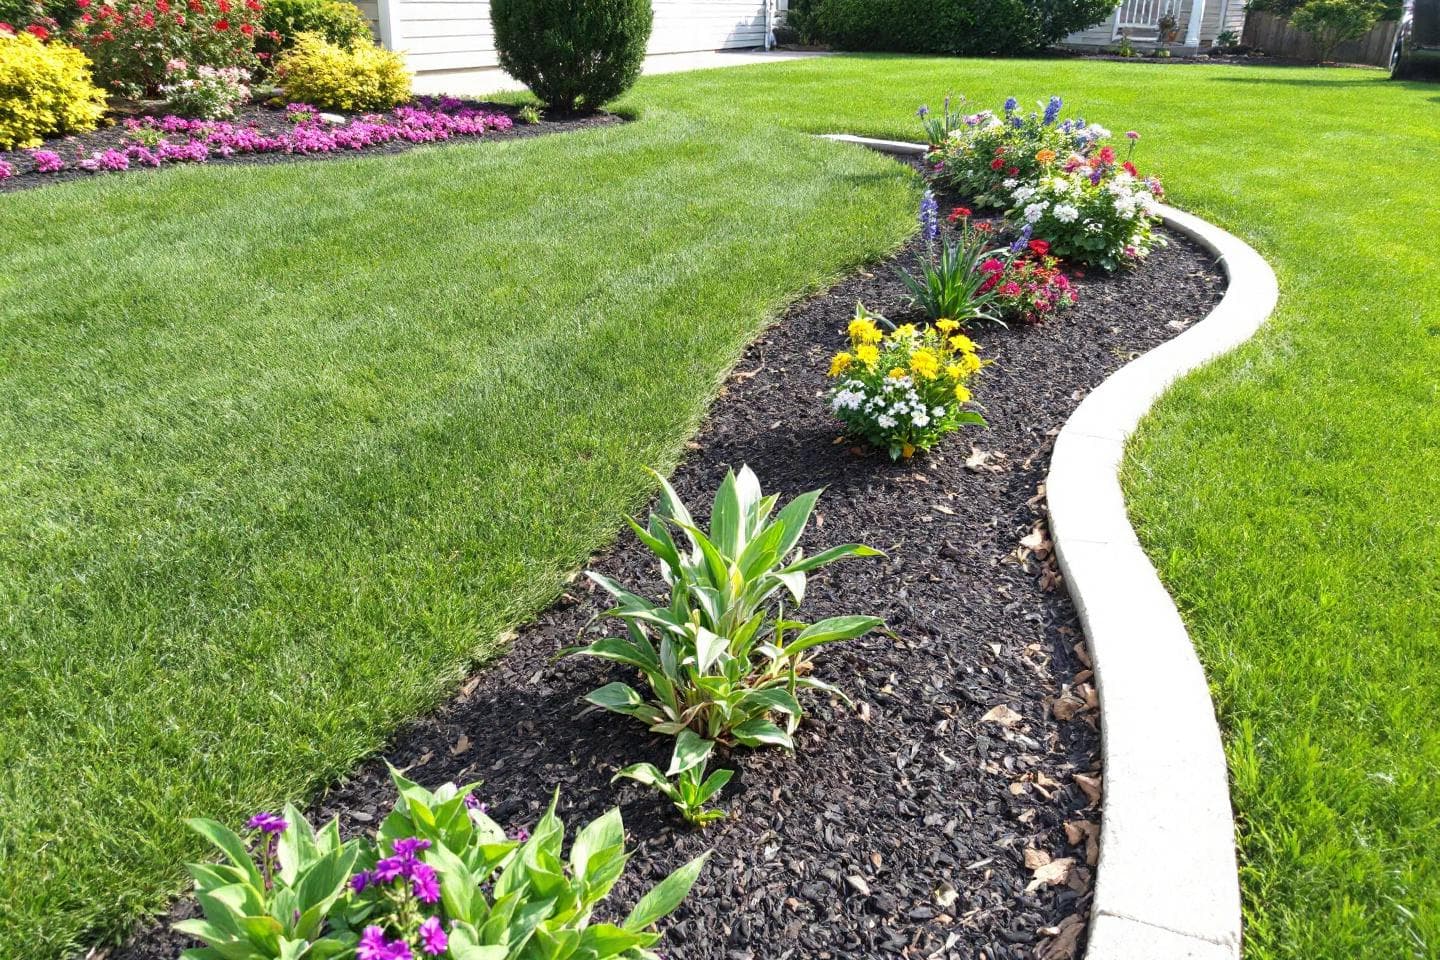
A well-edged flower bed separates amateurs from gardening pros. Edging creates a clean boundary between your lawn and garden, keeps grass from invading, and adds instant curb appeal. Here's how to do it right.
Types of Flower Bed Edging
Natural Edges
- - Spade-cut edge - Free, requires maintenance
- - Trench edge - Creates a natural barrier
- - Living edge - Low plants as border
Best for: Cottage gardens, natural landscapes
Material Edges
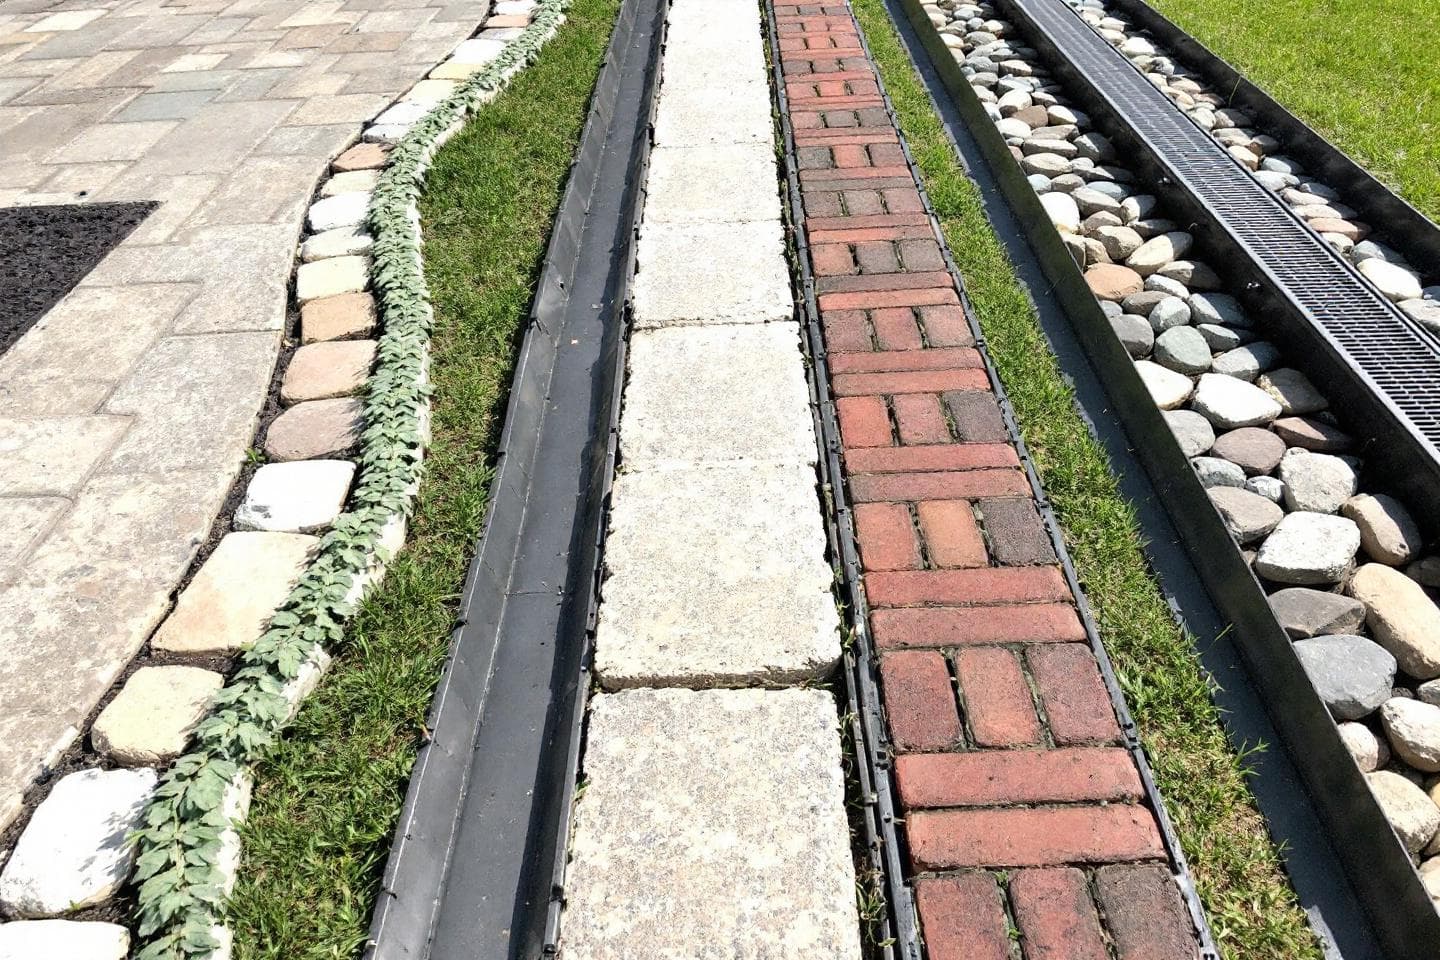
- - Brick or stone - Classic, permanent
- - Metal edging - Clean lines, modern
- - Plastic edging - Affordable, easy install
Best for: Formal gardens, low maintenance
How to Create a Natural Spade-Cut Edge
This classic technique creates a clean V-shaped trench between lawn and bed. No materials needed - just a sharp spade.
- 1Mark your line - Use a garden hose or string for curves, stakes and string for straight lines.
- 2Position the spade - Place at a 45-degree angle facing the flower bed, with blade on your marked line.
- 3Cut down - Push the spade 4-6 inches into the soil along the entire edge.
- 4Create the angle - Make a second cut from the bed side, angling down to meet your first cut.
- 5Remove the wedge - Pull out the V-shaped soil section you've created.
- 6Clean up - Rake the trench smooth and remove debris.
Installing Brick or Stone Edging
Brick and stone create a permanent, attractive border that requires minimal maintenance once installed.
1. Dig a Trench
Create a trench deep enough for your edging material plus 1-2 inches of sand base.
2. Add Base Material
Pour 1-2 inches of sand or gravel and compact firmly for a stable foundation.
3. Set Your Edging
Place bricks/stones on the base, keeping tops level. Use a level to check as you go.
4. Fill and Secure
Backfill around edging with soil, tamping firmly. Sweep sand into joints if using pavers.
Edging Material Comparison
| Material | Cost | Durability | Best For |
|---|---|---|---|
| Spade Edge (Natural) | Free | Needs re-cutting 2-3x/year | Cottage, natural gardens |
| Plastic Edging | $ | 3-5 years | Budget-friendly, curves |
| Steel Edging | $$ | 10-15 years | Modern, clean lines |
| Brick/Stone | $$$ | 20+ years | Traditional, formal |
Maintaining Your Edges
Natural Edge Maintenance
- - Re-cut edges 2-3 times per growing season
- - String trimmer for quick touch-ups
- - Remove grass creeping into beds
- - Keep trench clear of debris
Material Edge Maintenance
- - Check for heaving after frost
- - Reset any shifted bricks/stones
- - Re-apply sand in joints annually
- - Clear mulch buildup from edges
Pro Tips for Perfect Edges
Edge When Soil is Moist
Not wet, but slightly damp soil is easiest to cut and holds its shape.
Use a Board for Straight Lines
Place a 2x4 along your edge line and cut against it for perfectly straight borders.
Mulch After Edging
Apply fresh mulch after edging. Keep mulch 1-2 inches below edge level.
Consistent Depth Matters
Maintain the same depth throughout for a professional look. Use a measuring stick.
Local Flower Team
Local Flower
The Local Flower team helps you create beautiful gardens and connect with talented florists in your area.